Research: What common sense do you need to know when installing a valve?
1.Installation Location: Rising stem valves should not be directly buried to prevent corrosion. They should only be installed in covered trenches, and positioned for easy operation, inspection, disassembly, maintenance, and operation.
2.Handling Valves: Valves should not be thrown or dropped during handling to avoid damage and deformation. Carbon steel, stainless steel, and non-ferrous metal valves should be stored separately. When hoisting, wire ropes should be secured at the connection flanges of the valve body and cover, not at the handwheel or stem to prevent damage.
3.Accessibility: The installation position should not obstruct the disassembly, maintenance, and operation of the equipment, pipelines, and the valve itself. The installation height should facilitate operation and maintenance, typically 1-1.2 meters above the ground. For frequently operated valves installed over 1.8 meters high, a fixed operating platform should be provided.
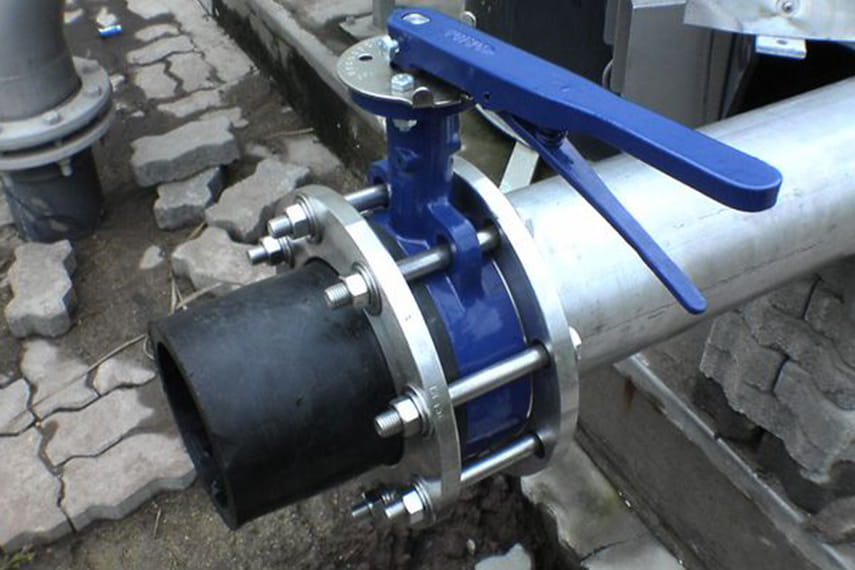
4.Orientation: For horizontal pipelines, valves should ideally be installed vertically upwards or with the stem in the upper semi-circle, and never downwards. The stem and handwheel must align with the operational path. When possible, valves should be grouped for easier operation.
5.Flow Direction: Directional valves should be installed according to the flow direction of the medium in the pipeline. For gate valves, flow should enter from below. For check valves, flow direction must be noted, with arrows marked on the valve body indicating flow direction. The rotating axis of swing check valves should be horizontal, while lift check valves must align vertically.
6.Special Requirements: For valves with specific requirements, such as lever-operated safety and pressure relief valves, ensure the valve disc centerline is perpendicular to the horizontal plane, correcting any tilts.
7.Quick Coupling: When installing threaded valves, ensure quick couplings are nearby for easy disassembly.
8.Cut-off Valves: Cut-off valves should be installed in auxiliary systems entering the workshop to isolate the main pipeline during maintenance.
9.Flanged Connections: Ensure that the two flanged ends connected to the valve are parallel and coaxial, especially for brittle materials like cast iron. Bolts should be tightened symmetrically in multiple stages.
10.High Pressure Valves: Before installing high-pressure valves, verify product certificates and test records. These valves often require supports to reduce starting stress and should be installed at heights of 0.6-1.2 meters.
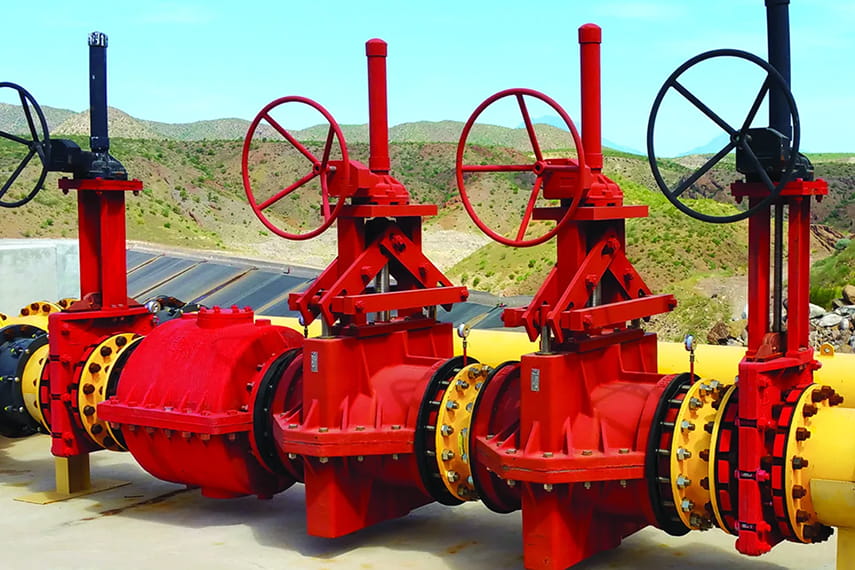
11.Support for Heavy Valves: Connections on pumps, heat exchangers, towers, and vessels should not bear the weight of valves and pipes; supports are required for valves with nominal diameters greater than 80 mm.
12.Non-metallic Valves: Heavy, low-strength non-metallic valves should be arranged centrally for easier support design and must be secured even if single.
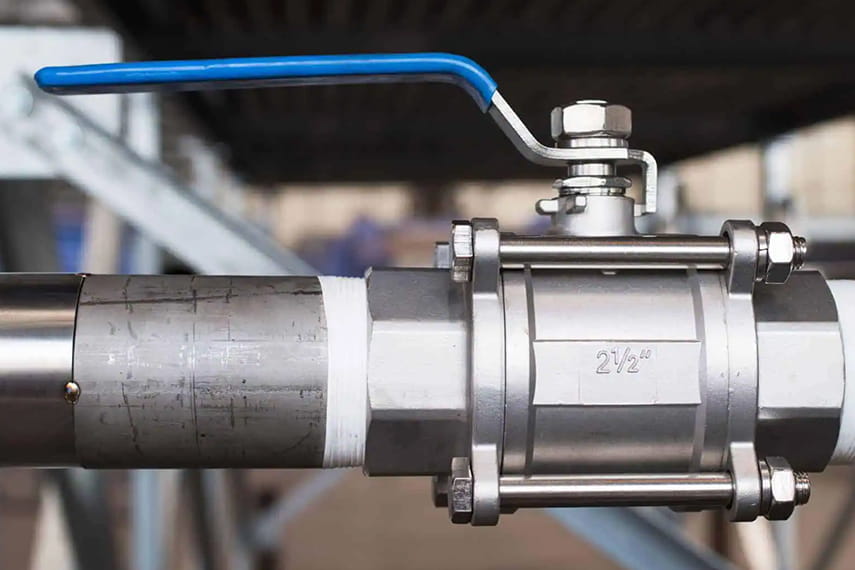
13.Threaded Connections: Ensure threads are intact and select appropriate packing materials. Tightening should be done securely without deforming the valve body.
14.Welded Valves: Use argon arc welding for bottom welds in welded valves to ensure smooth internal surfaces. Valves should not be closed during welding to prevent overheating and deformation of sealing surfaces.
15.Spacing: Maintain a minimum distance of 100 mm between handwheels on parallel pipelines. To reduce spacing, staggered arrangements are preferable.
16.Cryogenic Valves: Perform opening and closing tests at cold temperatures before positioning to ensure smooth operation without jamming.
17.Safety Valves: Use elbows or similar fittings at connections to prevent fluid impact. Ensure safety valves are frost-free during operation.
18.Avoid Climbing: Do not use the valve stem as a scaffold during installation.
19.High-temperature Valves: For valves over 200°C, perform "thermal tightening" after installation due to thermal expansion.
20.Winter Precautions: In winter, drain accumulated water behind closed water valves and condensate behind closed steam valves.
21.Handling Non-metallic Valves: Be cautious with high forces when operating brittle or low-strength non-metallic valves to avoid damage.
22.Gate Valve Orientation: The flow direction must align with the arrow on the valve body. For infrequently operated valves that need to prevent leakage in closed positions, consider reversing installation based on medium pressure.
23.Large Gate Valves: For large gate valves (DN 200-500 mm) and pneumatic control valves, vertical installation is recommended to avoid uneven mechanical wear.
24.Tightening Screws: Valves should be slightly open when tightening screws to avoid damaging the sealing surface.
25.Final Checks: After positioning all valves, perform a final opening and closing test to ensure smooth operation without sticking.
26.Large Air Separation Towers: Pre-tighten flange connections at low temperatures after cooling to prevent leaks during normal temperatures.
27.New Valves: For new valves, do not over-compress packing to prevent excessive wear on the stem and difficulty in operation. Quality installation is crucial for the normal operation of valves in the future.